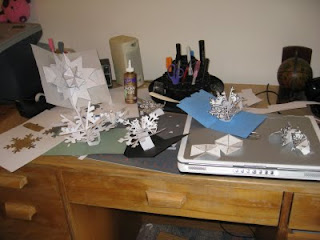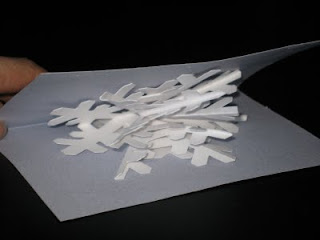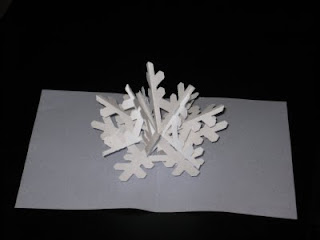
It all started when my friend Anne gave me a waterlogged copy of a pop-up book called Leonardo DaVinci, A Three-Dimensional Study. Sadly, Leonardo did not make pop-up books, but his 3D geometrical designs inspired me to make a 3D snowflake. My kids told me that snowflakes were flat, but I took artistic license with the subject anyway. Besides, they look all fluffy and big when they are falling from the sky and school is about to be canceled.
I took to my studio determined to recreate the feeling of the design. It reminds me of translating poetry. There's no way to duplicate it, but you try to capture the spirit of the thing in your own native language. What I found out in this process is that I really should have paid better attention in geometry class. Guessing got me nowhere. I had to be precise to get the angles and the movement right. I used Adobe Illustrator to do my measuring for
 me on the basic structure. I
  looked to The Elements of Pop-up by David Carter as my reference for creating a stable platform, strong enough to support the fully extending snowflake as it opened. At first my base was too high and looked awkward, but I didn't give up the idea of the two different levels of the structure. I'm enchanted by the fact that something completely flat can be tall and multi-directional when opened. I don't think pop-ups have to be complex to achieve this, but they do have to be interesting.
I'm pretty happy with my little snowflake. Now that I have it drawn up in Illustrator, I can recreate it easily whether I hand cut it or use my CraftRobo to do it. I can now make minor tweaks as needed or take a completely different direction, using the structure to make a flower or a tree. Of course I would never make two of my snowflakes exactly alike.

![Reblog this post [with Zemanta]](http://img.zemanta.com/reblog_e.png?x-id=677cd6b5-7c36-4b52-91dc-28200fbf69ce)


