 This term I am teaching the Papercraft Sampler to 9-13 year olds. I had several lessons planned for our 10 week session together, but once we started making paper lanterns, they didn't want to stop! Our lanterns were based on an up-pop design I've used before. This 14 sided lantern, can pop-up, or fold flat with the assistance of a rubber band and a paper hook mechanism. We cut out various shapes on the facets and backed them with tissue paper for a colorful glow.
As we started cutting out our stars, moons, flowers and various designs, I think the kids became fascinated with the light and how their pictures lit up. I brought in a light table to test out designs before we fully assembled the lanterns. We used battery operated tea lights. We can use sharp knives and hot glue guns, but I draw the line at open flames in the classroom!
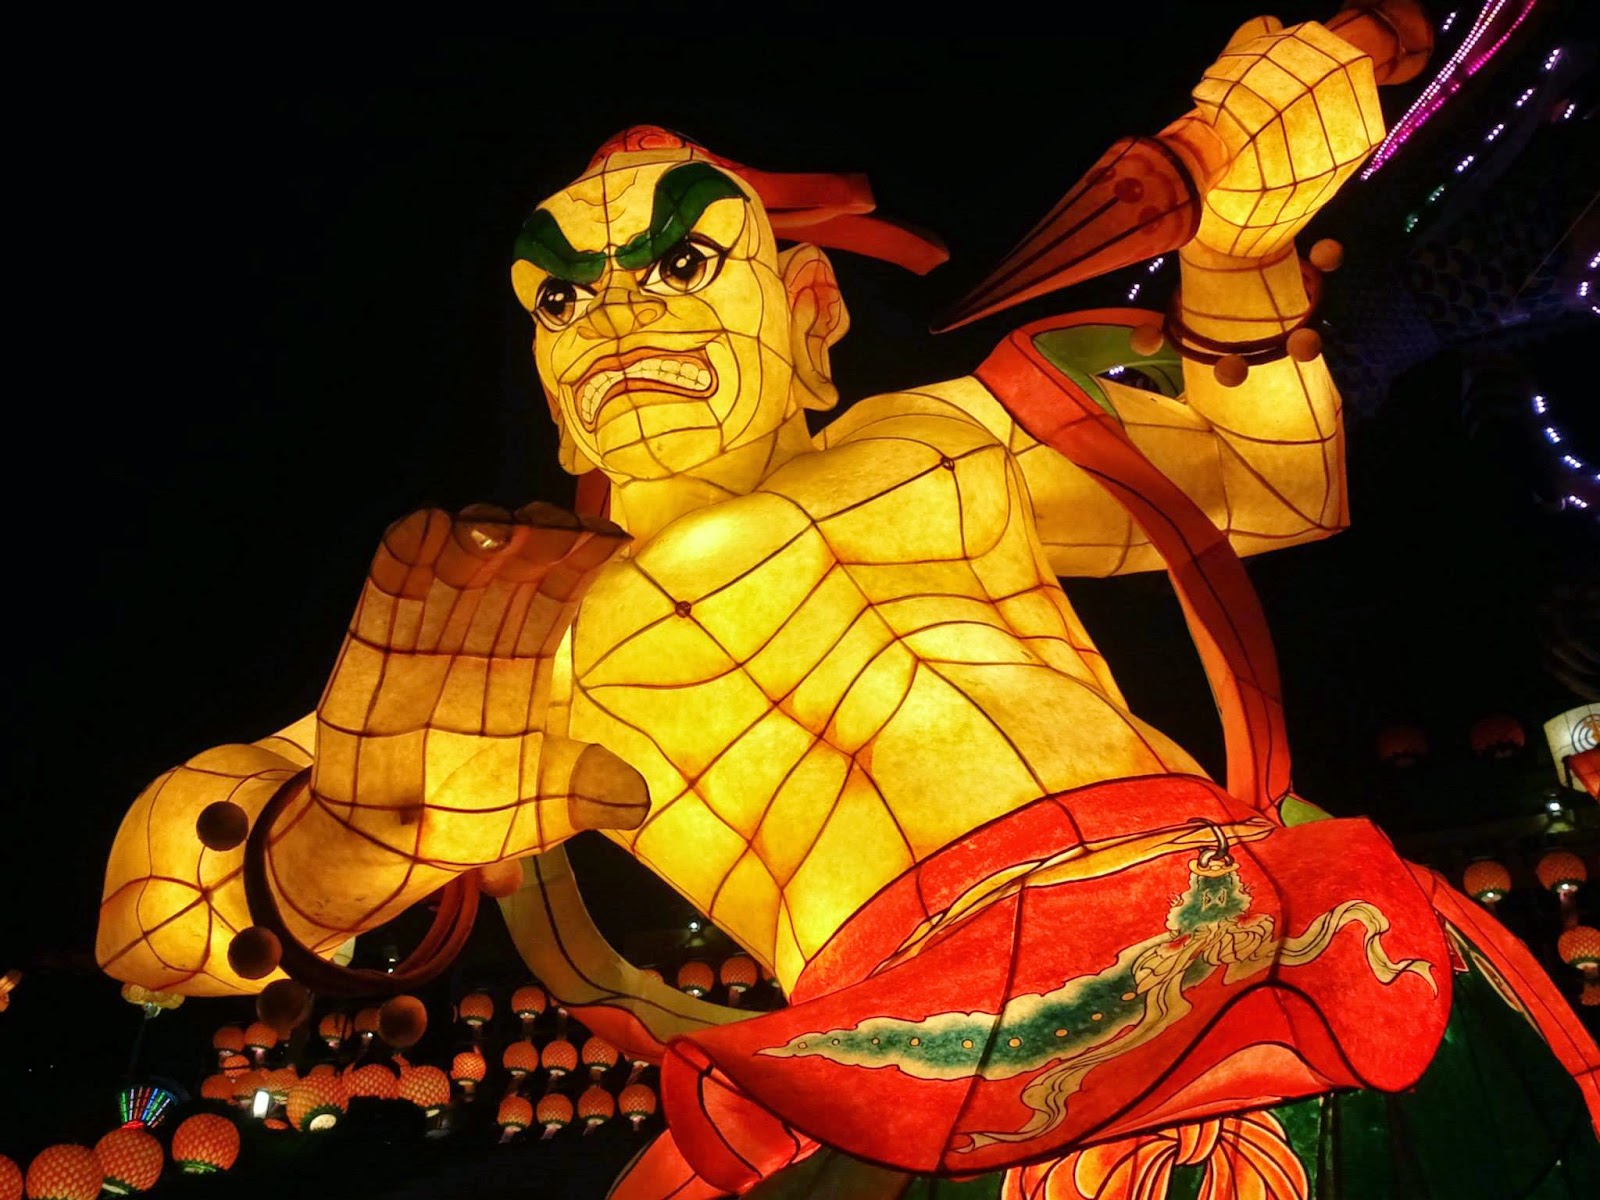
We got inspiration from the lantern festival in South Korea where my friend David lives. His friend Gun-Sang took pictures of lanterns all over the city. We were able to look at his photo gallery online and make comments about our favorites. We sent him a few of our pictures to show to his students there!
 |
| I love this intricate tree design, but it does need structural support. A wire frame? |
A few of our finished products.
If you want to see more of our process visit my Paper Lanterns album.


